
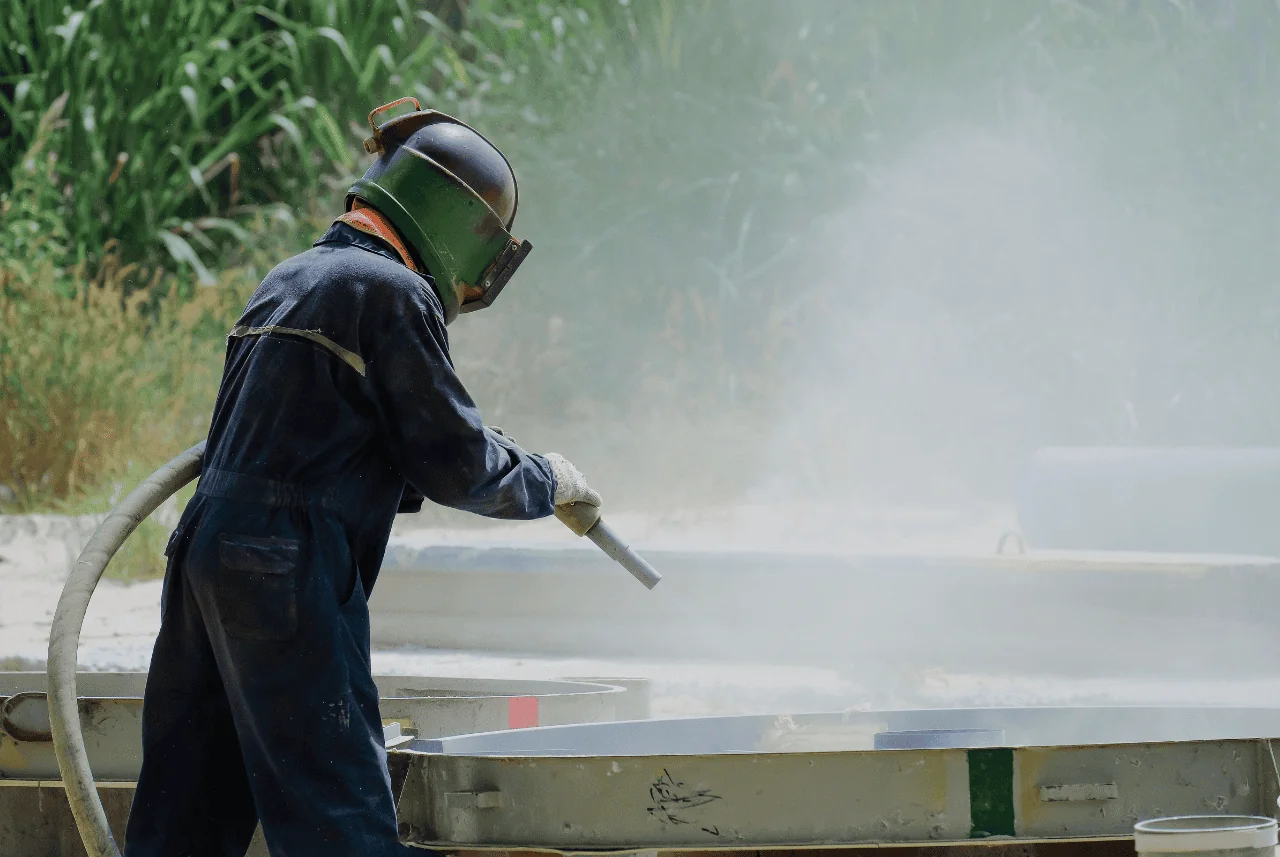
Premium Surface Treatment Solutions
High-performance surface treatment systems for concrete protection, strengthening, repair, and enhanced durability in construction and infrastructure applications
Surface Treatment
Protect · Strengthen · Restore
Usman Consultants delivers advanced surface treatment systems engineered for concrete protection, structural strengthening, and long-term durability. From anti-carbonation coatings to penetrating sealers, our solutions extend service life, reduce maintenance costs, and enhance performance in the harshest environments.
25+ Years
Extended Service Life
Anti-Carbonation
Protects against CO₂ penetration
Water Repellent
Hydrophobic protection
High Strength
Structural reinforcement
Durable
Long-lasting performance
Talk to an Expert
Get the right solution for your project
Each surface requires a specific 3-step treatment system — Cleaner, Abrasion, and Primer — for optimal adhesion and long-lasting performance. Explore our comprehensive systems below.
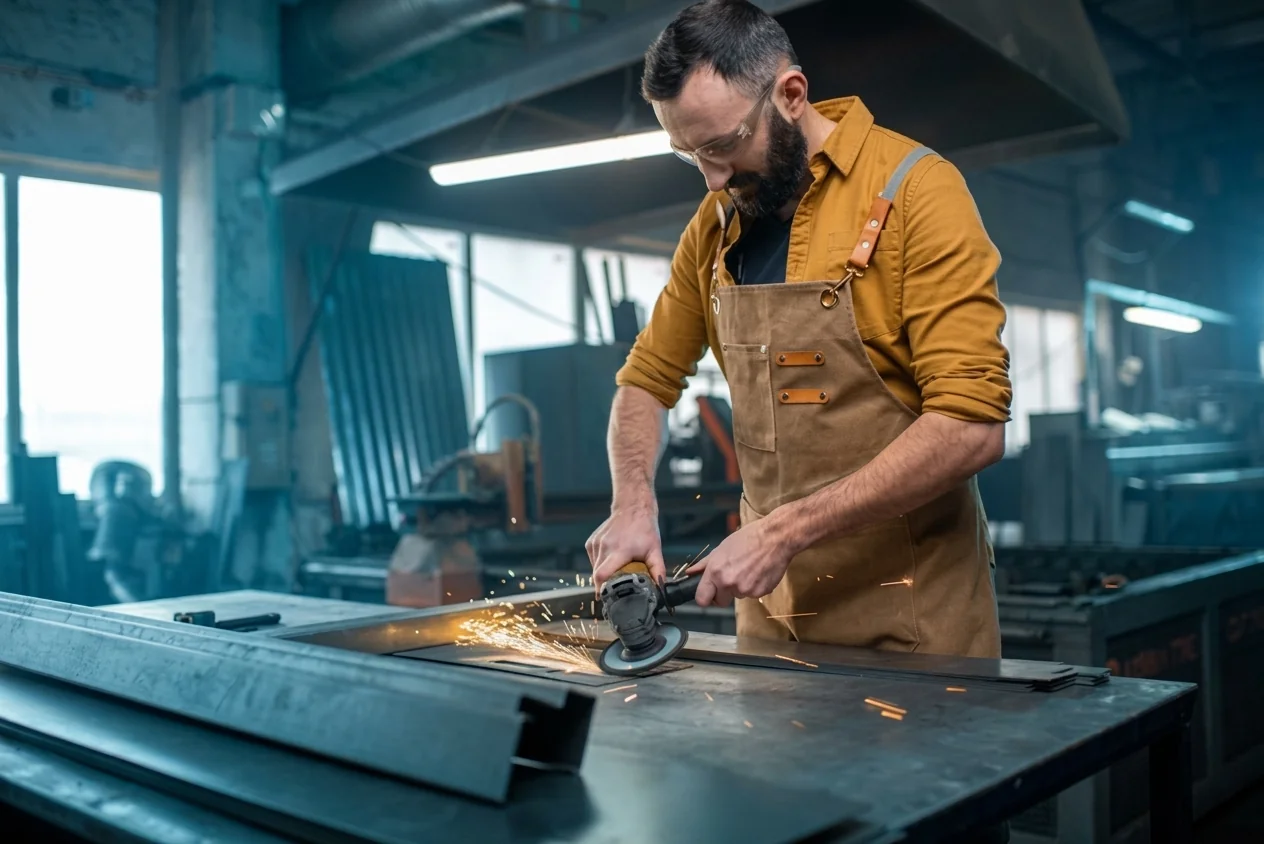
Steel · Aluminum · Galvanized
Proper metal surface preparation is the foundation of corrosion protection and coating adhesion. Our comprehensive 3-step system removes contaminants, creates the ideal anchor profile, and provides a corrosion-resistant foundation for long-term performance.
Solvent Degreaser — Removes oils, grease, wax, and manufacturing contaminants from the metal surface.
80-120 Grit Aluminum Oxide — Creates mechanical anchor profile for maximum coating adhesion. For galvanized, use 120-150 grit to avoid zinc damage.
Etching Primer for bare metal, Epoxy Primer for maximum corrosion protection, or Zinc-Rich Primer for steel structures.
Concrete surfaces require thorough cleaning, mechanical profiling, and sealing for proper coating adhesion. Our 3-step system removes contaminants, opens the surface, and provides a durable foundation for coatings.
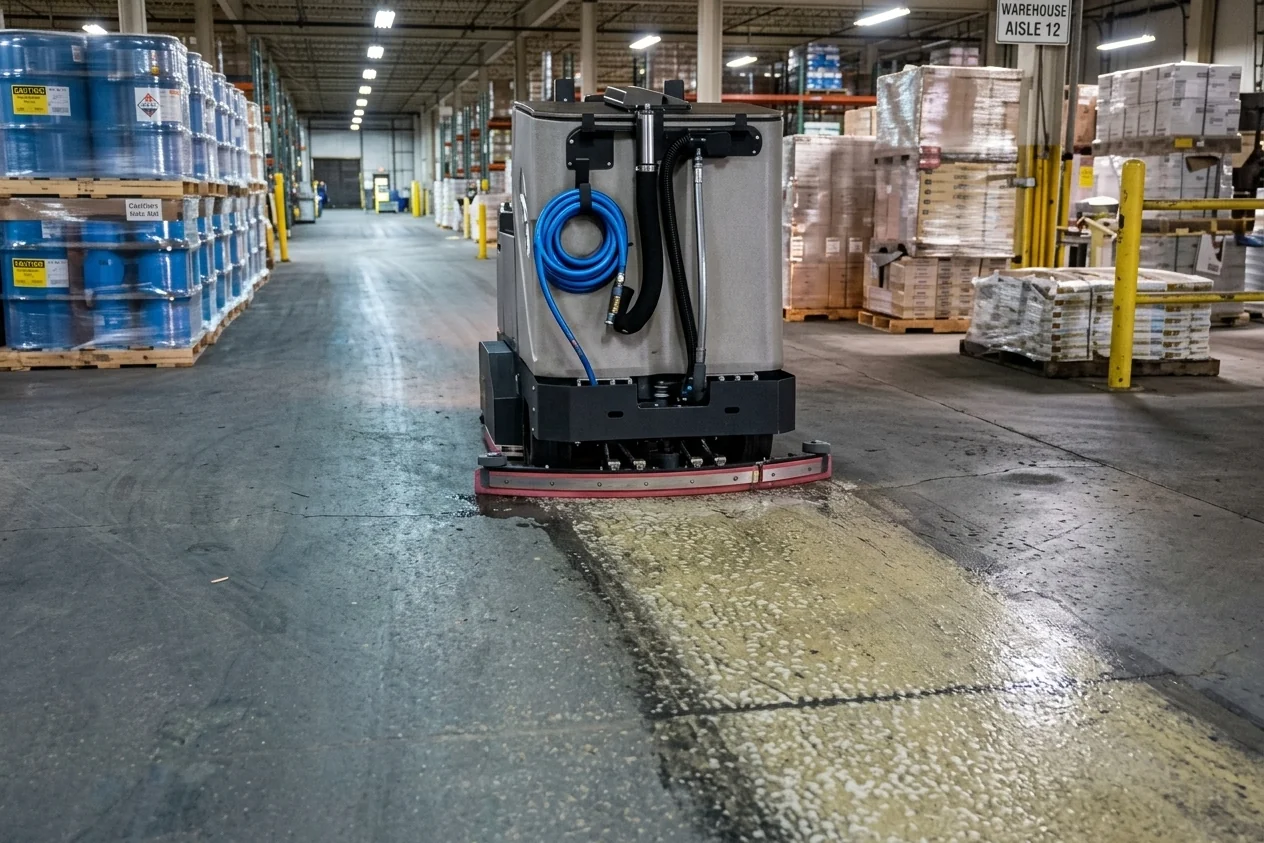
Concrete Cleaner & Etcher — Removes laitance, dirt, oil, and opens surface pores for maximum primer penetration.
pH 10-12
Alkaline
24hrs
Cure Time
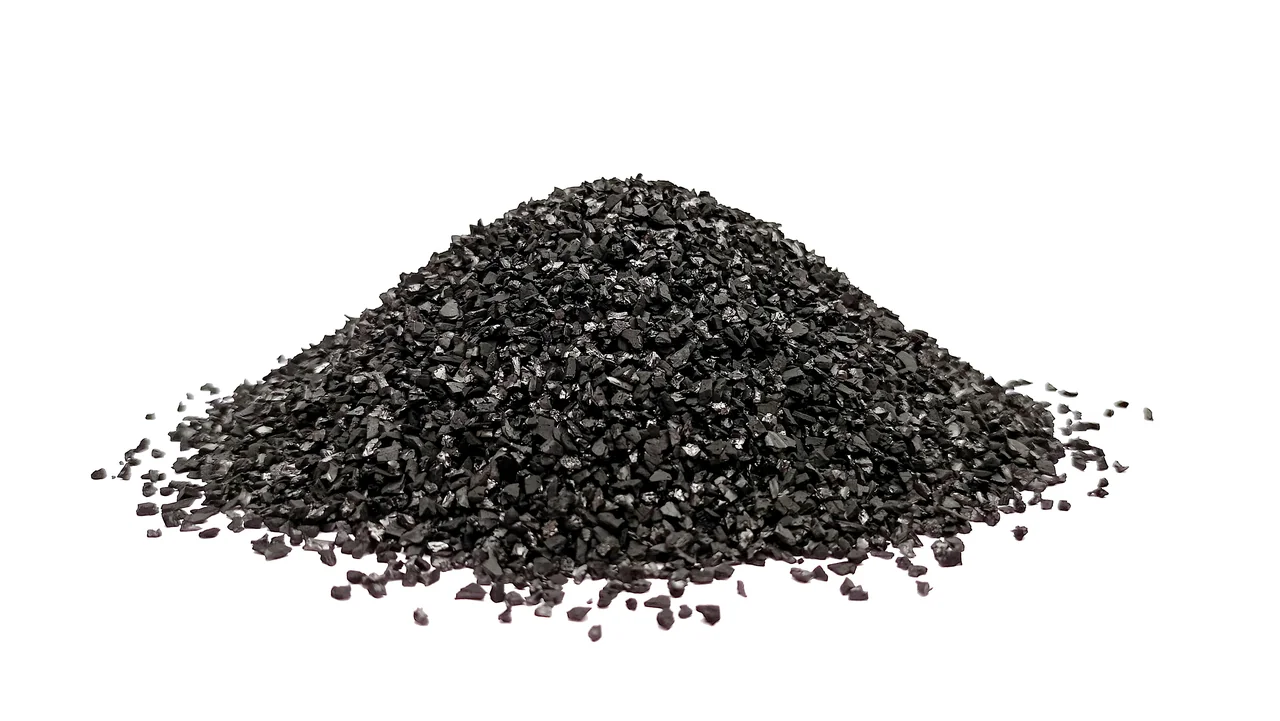
24-60 Grit Diamond Grinding or Sanding — Creates mechanical profile, removes surface imperfections, and opens the concrete surface.
24-60
Grit Range
2-4mm
Profile Depth
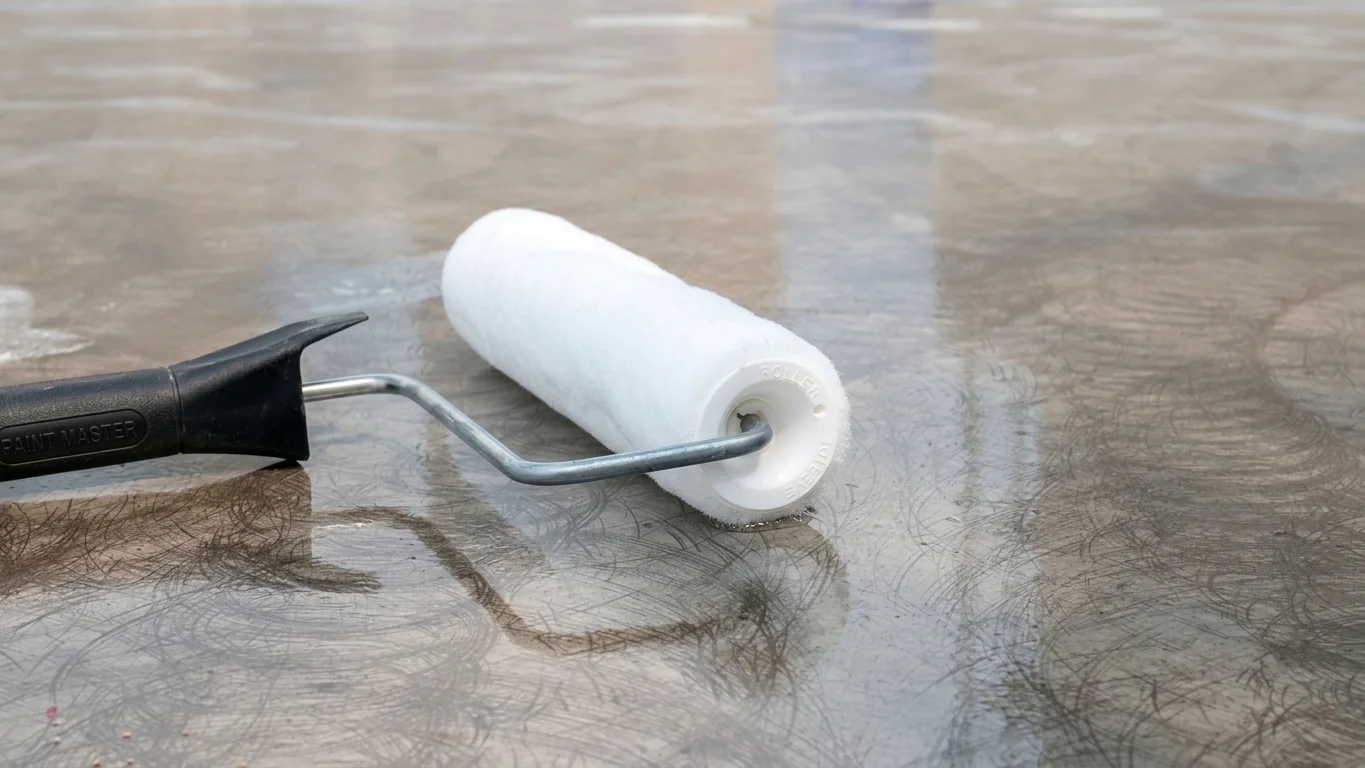
Epoxy Primer or Penetrating Sealer — Seals the surface, provides a barrier against moisture, and creates a strong foundation for topcoats.
2-4hrs
Pot Life
24hrs
Cure Time
10+
Years Service Life
100%
Surface Profile
50+
Projects Completed
EN 1504
Compliant
Wood requires careful preparation to ensure stain penetration, paint adhesion, and a flawless finish. Our 3-step system cleans, smooths, and seals the wood surface.

Wood Treatment
Hardwood · Softwood · Engineered Wood
Wood Cleaner or Oxalic Acid — Removes dirt, stains, and surface contaminants. For heavy grease, use Solvent-Based Degreaser.
80-150 Grit Sandpaper — Smooths grain, opens pores, and prepares surface for primer. Start with 80 grit for rough wood, finish with 120-150 grit.
Wood Sealer or Stain-Blocking Primer — Seals the surface, blocks tannin bleed from woods like cedar/redwood, and prepares for topcoat.
100%
Stain Penetration
15+
Years Service Life
2-4
Hours Drying Time
ASTM
Compliant
Plastic surfaces require specialized preparation to promote adhesion. Our 3-step system cleans, roughens, and primes the surface for long-lasting coating performance on PVC, Polycarbonate, ABS, and other engineering plastics.
Isopropyl Alcohol or Plastic Prep Cleaner — Removes mold release agents, oils, and surface contaminants. Avoid harsh solvents that can damage the plastic.
220-400 Grit Fine Sandpaper or Scotch-Brite Pad — Lightly scuff the surface to create mechanical adhesion without damaging the plastic.
Plastic Primer or Adhesion Promoter — Promotes maximum paint adhesion. For polypropylene/polyethylene, use Flame Treatment or Specialty Primer.
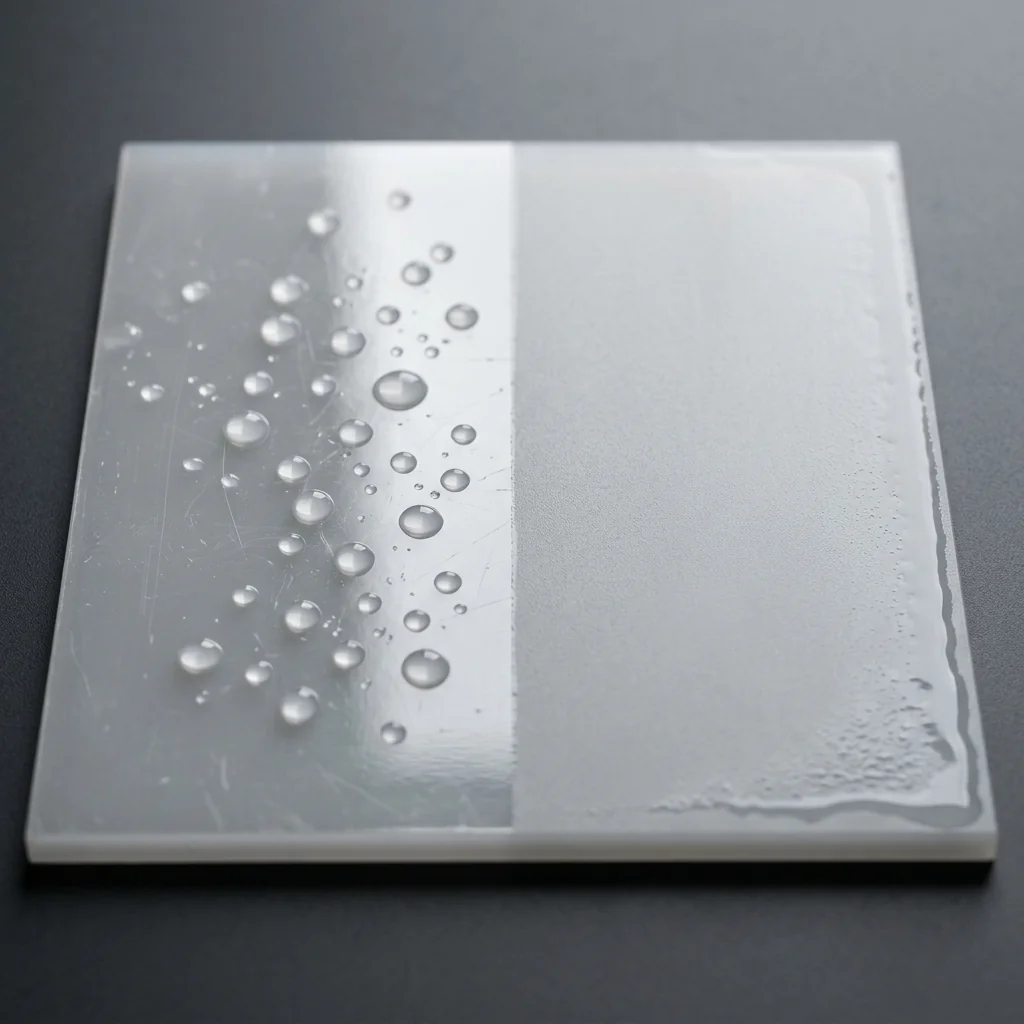
Specialized surface preparation
Glass and ceramic surfaces require careful cleaning and profiling for proper adhesion. Our 3-step system removes contaminants, creates surface profile, and primes for maximum bond strength.
Glass Cleaner or Tile & Grout Cleaner — Removes residues, soap scum, and contaminants. For ceramic, use Alkaline Cleaner.
220-320 Grit for glass edge. For ceramic tile, use 120-220 grit. For glazed tile, use Chemical Etcher instead.
Glass Primer or Multi-Surface Primer for glass. For ceramic tile, use Tile Primer or Epoxy Primer.
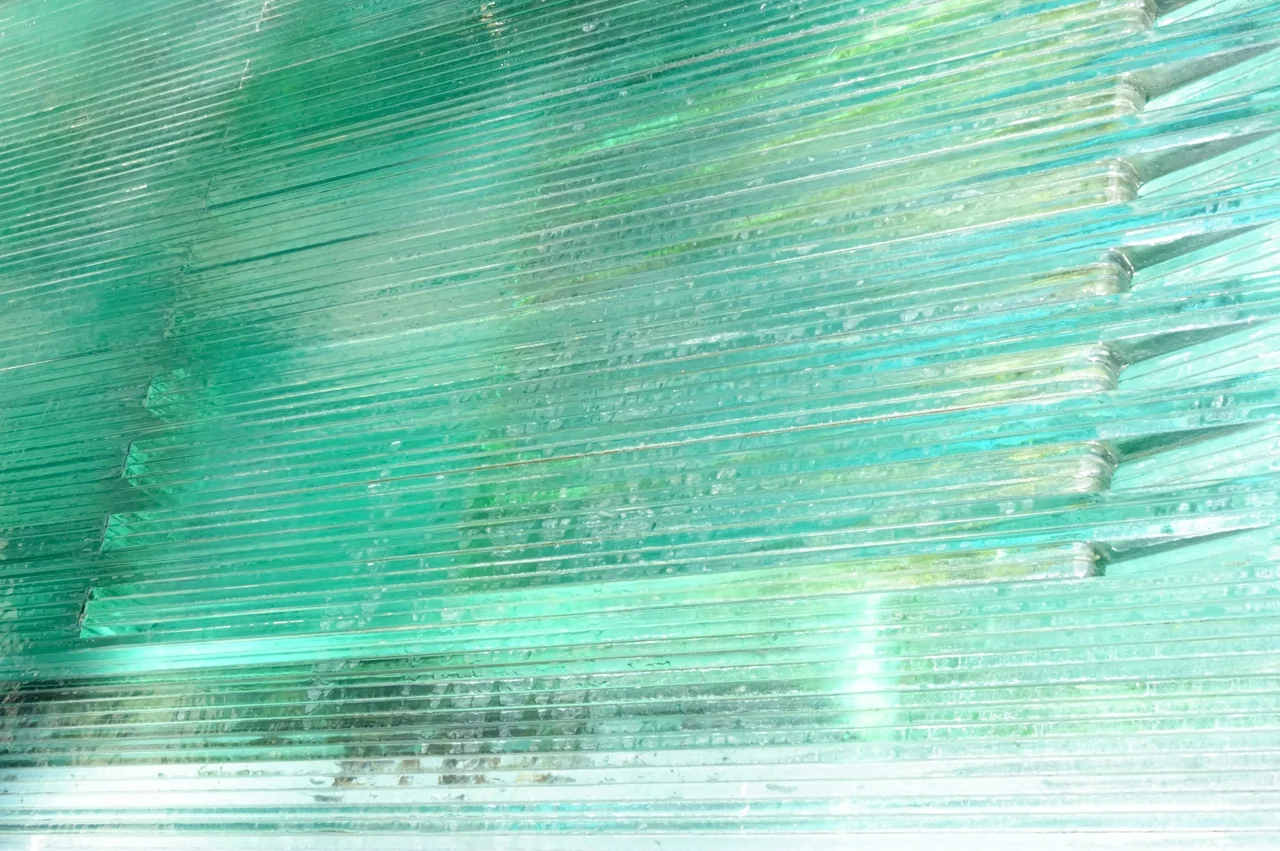
Glass · Ceramic Tile
Repainting requires proper surface preparation to ensure new coating adhesion. Follow this checklist for a flawless, long-lasting finish on existing painted surfaces.
TSP (Trisodium Phosphate) or Paint Prep Cleaner — Removes dirt, grease, and oils from the painted surface. Rinse thoroughly after cleaning.
Heavy-Duty Degreaser120-180 Grit for rough sanding, 180-220 Grit for final sanding. Sand until the surface is dull to create mechanical adhesion for the new coating.
Dull FinishUniversal Primer or Bonding Primer — Provides maximum adhesion for the new coating. For glossy surfaces, use specialty Bonding Primer.
Maximum Adhesion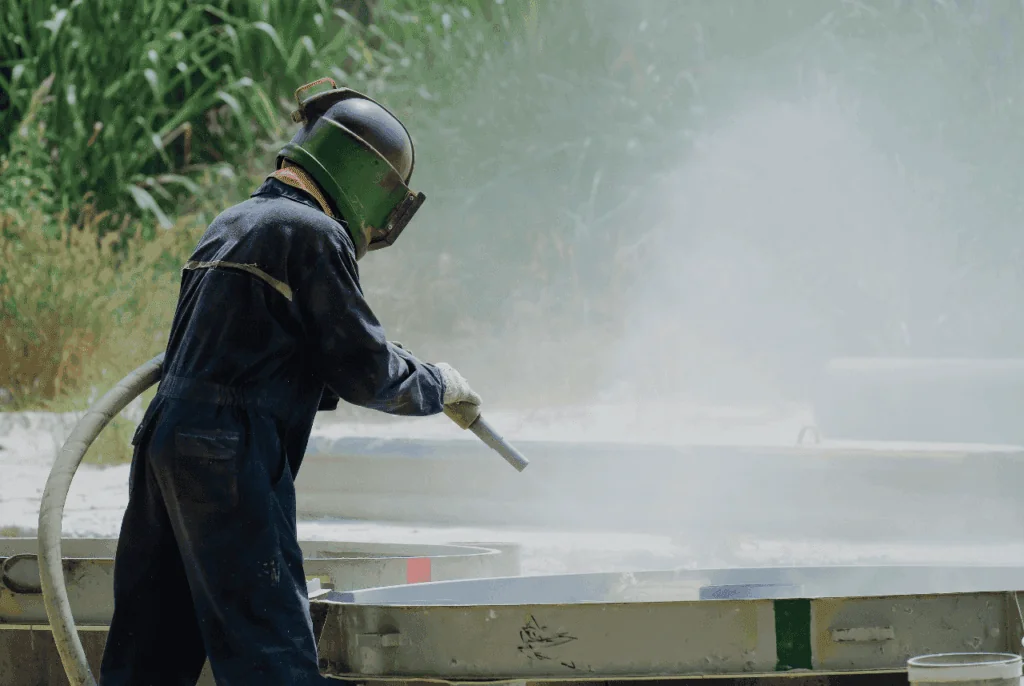
Existing Paints · Finishes
Our technical team can assess your surface and recommend the exact treatment system for your project.
Clean it. Grip it. Bridge it. Shape it. Master the four essential steps of surface preparation with our expert guides, checklists, and pro tips.
The right solvent makes all the difference. Use our downloadable PDF checklist to ensure you're using the correct cleaner for your surface.
Pro Tip: Always test your solvent on a small, inconspicuous area first. Wipe with a clean, lint-free cloth and allow to dry completely before proceeding.
Create the perfect surface profile with our Grit Guide — the exact sandpaper grit you need for every material.
Metal
80-120
Aluminum Oxide
Galvanized: 120-150Concrete
24-60
Diamond Grinding
Smooth: 60-80Wood
60-150
Sandpaper
Final: 120-150Plastics
220-400
Fine Sandpaper
Light Scuff OnlyGrit Rules
Lower grit = Coarser = More profile
Progression
Always go coarse → fine
Warning
Don't skip grits! Over-sanding ruins profile
"Primer must be applied to a clean surface and allowed to flash off (dry to the touch) BEFORE applying sealant.
If it's wet, the sealant will fail. The primer creates a chemical bridge — but only when properly dried.
✅ Correct Primer Application
❌ Common Primer Mistakes
Proper joint design ensures sealant performance. Use backing rods to control depth and shape, preventing three-sided adhesion.
1
Depth (D)
2
Width (W)
Sealant depth should be half the joint width
Pro Tip: Always use a backer rod to prevent 3-sided adhesion. This allows the sealant to stretch and compress properly with joint movement.
Surface preparation is the most critical — and most overlooked — step in any coating, sealing, or repair project. 80% of coating failures are caused by poor surface preparation. Here's why it matters.
80%
of Coating Failures
Caused by poor prep work
3x
Longer Service Life
When prepped correctly
50%
Less Maintenance
Over the life of the project
100%
Adhesion Potential
When all 4 pillars are followed
Most of people think the coating or sealant is the most important part of a project. It's not. The surface beneath it is. No matter how premium your coating is, if the surface isn't properly prepared, it will fail — sometimes in weeks, not years.
Surface preparation is the invisible foundation that determines whether your project lasts 5 years or 25 years.
Remove all contaminants
Create mechanical profile
Apply chemical primer
Design the joint properly
Avoid callbacks and rework
Extend asset life
Protect your investment
KNOWLEDGE CENTER
We offer comprehensive surface treatment systems for metal, concrete, wood, plastics, glass, ceramic, and painted surfaces. Our solutions include specialized cleaners, abrasion grit recommendations, primers, and surface preparation guides — each engineered for specific substrates and performance requirements.
Surface preparation is the most critical step in any coating, sealing, or repair project. Studies show that 80% of coating failures are caused by poor surface preparation. Proper cleaning, abrasion, priming, and joint design ensure maximum adhesion, long-term durability, and protection against corrosion, moisture, and environmental damage.
The 4 pillars of surface preparation are: Clean — remove all contaminants using the right solvent; Grip — create mechanical profile with proper abrasion grit; Bridge — apply chemical primer to bond surfaces; Shape — design joints properly using backing rods for optimal sealant performance. Each pillar is essential for long-lasting results.
For metal, use 80-120 grit aluminum oxide (120-150 grit for galvanized). For concrete, use 24-60 grit diamond grinding (60-80 grit for smooth surfaces). For wood, start with 60-80 grit and finish with 120-150 grit. For plastics, use 220-400 grit fine sandpaper with a light scuff. For painted surfaces, use 120-220 grit to dull the finish.
The #1 amateur mistake is applying sealant or coating over wet primer. Primer must be applied to a clean surface and allowed to flash off (dry to the touch) BEFORE applying sealant. If it's wet, the sealant will fail. Always allow 10-30 minutes of flash-off time and test for dryness before proceeding.
All our surface treatment products meet international standards including EN 1504 (concrete protection), ASTM D1653 (water vapor transmission), ASTM C920 (sealants), ISO 9001 certified, and are SGS tested for quality assurance. Products are tested for adhesion, durability, weathering, UV stability, and chemical resistance to ensure long-term performance and reliability.
Prepare with Confidence
Partner with Usman Consultants for comprehensive surface treatment solutions that deliver exceptional adhesion, durability, and protection. From metal to concrete, from wood to plastics — quality, reliability, and technical excellence for every project.